Audio quality is essential for capture functionality; users need to be able to hear what you are saying. Poor audio quality makes captures less useful, and may leave users feeling discouraged and frustrated.
There are multiple components to the overall quality of an audio recording, including the space in which you’re recording, the equipment you’re using, and the settings for your microphone.
The Recording Space
The physical space and ambient noise present can impact the overall quality of the audio in your recording. Consider the differences between a small conference room and a large lecture hall full of students. In an empty conference room, you may have few audio issues. In a full lecture hall, there is likely to be a great deal of ambient noise. While you cannot address all aspects of background noise, you may be able to control some of the following:
- Turn off ceiling fans and additional, unused appliances and phones. Close your windows to block out vehicles and other outside noise.
- Position microphones away from the classroom computer. Computer fans can be a significant source of additional noise.
- Ensure there’s no echo. Typically, a smaller recording space is better to reduce echo, but carpet, furniture, and acoustic foam tiles in a space can all help reduce echo.
The Microphone
The right microphone is essential to good-quality audio recordings. In a small space, like an office, the built-in microphone in a laptop computer or headphone microphone may be adequate. There is little background noise in a small space, and fewer audio challenges. Still, if you choose this method, ensure you have access to editing software that can help enhance the audio.
In a larger lecture hall or auditorium, it’s recommended that you choose a uni-directional microphone, which picks up sound only from one direction. This means the noise of the classroom or conference space will not be picked up on the microphone, while the speaker’s voice will be clear and audible.
Ideally, the microphone should be placed 3-5 inches from the speaker. A stand, or a lapel microphone if you need to move around the room, can help keep the microphone the same distance from the speaker throughout the recording. It also ensures the speaker can use their hands for visual demonstrations.
The Sound Check
In addition to preparing the space and making smart microphone selections, it is helpful to take a moment to check your sound and assess sound quality. Do a test run to check that audio is clear, crisp, and balanced.
If there are two speakers, it’s helpful to record on separate tracks so they can be adjusted separately. Each speaker should wear headphones to avoid picking up the other speaker’s audio as background noise.
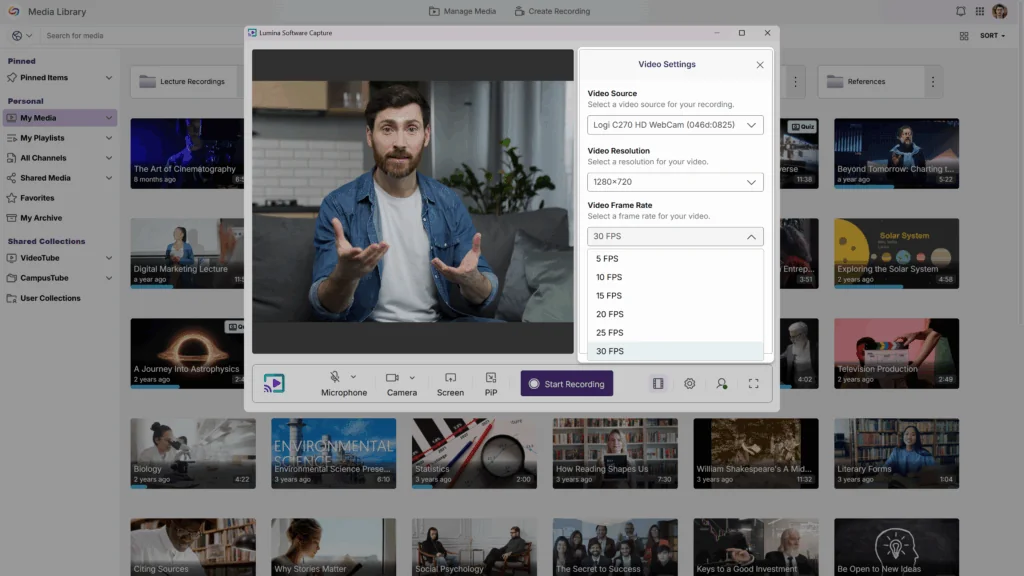
YuJa Software Capture enables you to test your audio feed before you begin recording. Check the monitor to assess your volume levels. You can also opt for a short on-demand recording to check and review your audio quality.
YuJa’s HTML5-based Video Editor also allows instructors to edit audio to remove pauses, adjust audio gain adjustments, amplification and re-normalization capabilities.