Regardless of where your lecture capture takes place, the main components an instructor needs to record online course materials involves a lecture capture software, built-in webcam and microphone, or a mobile device.

Here are the 5 Steps to Record your own Lecture Videos
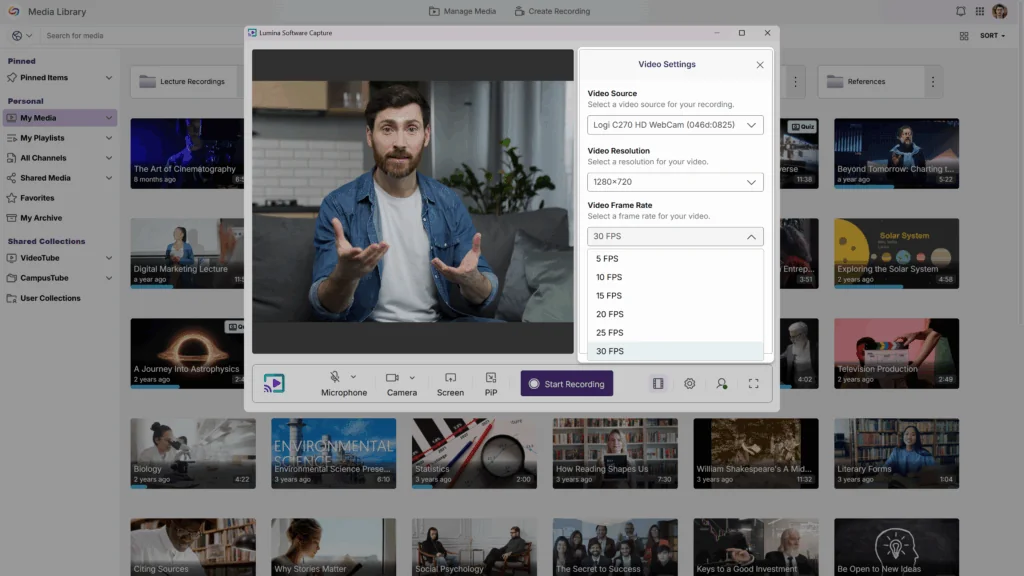
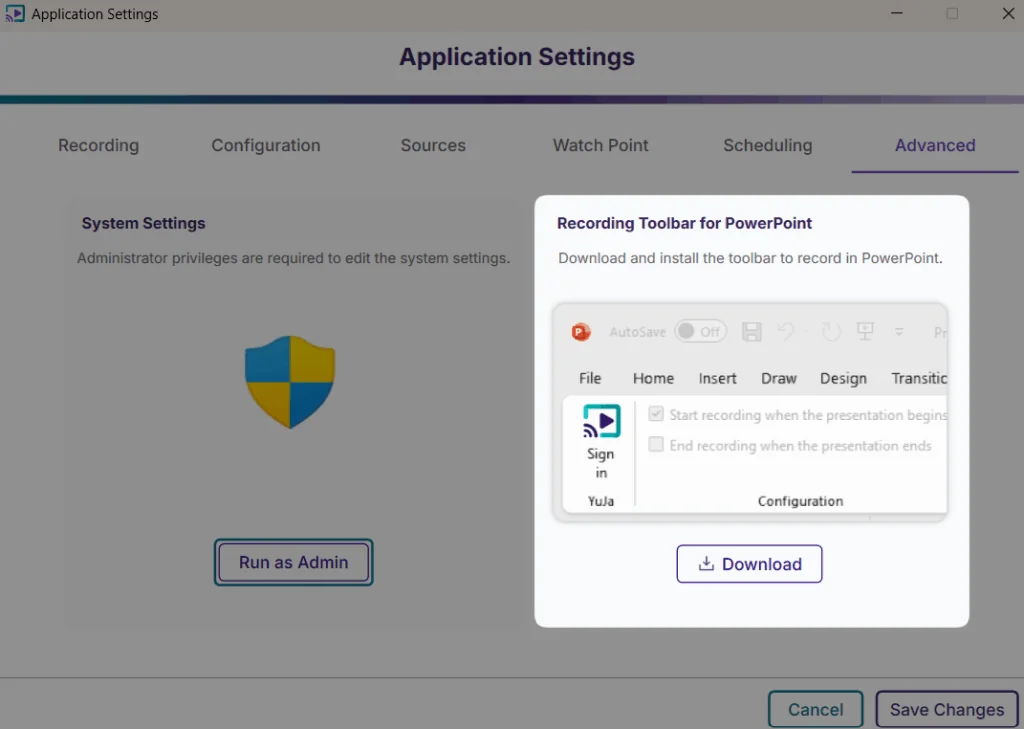
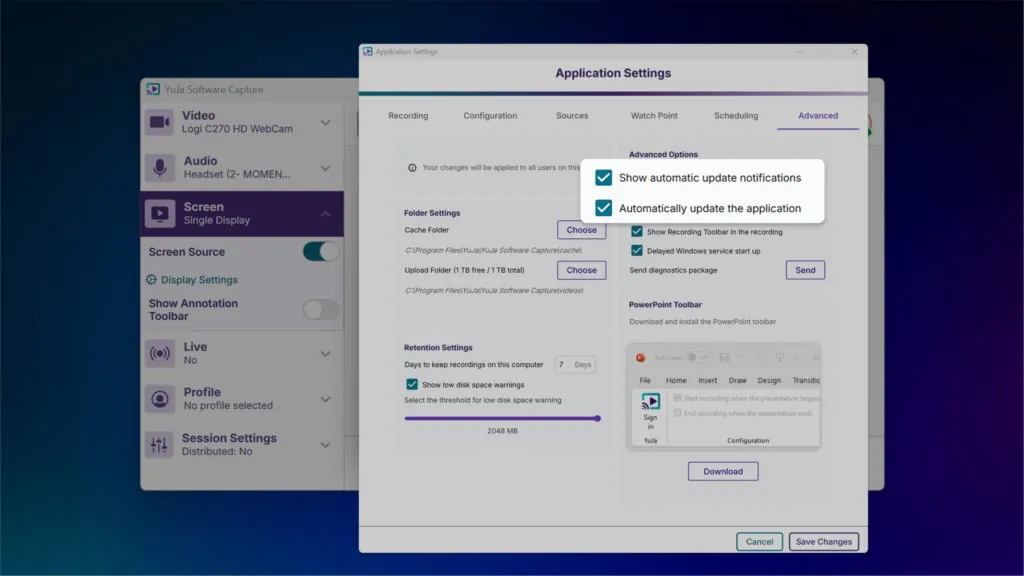
1. Prepare your Lecture Capture Software/Application
If you do not have it installed already, the existence of lecture capture software is the first step you will need in order to begin recording. Whether you are recording on a mobile device, tablet, or on a Mac/PC, be sure to download the necessary applications to officially get started.
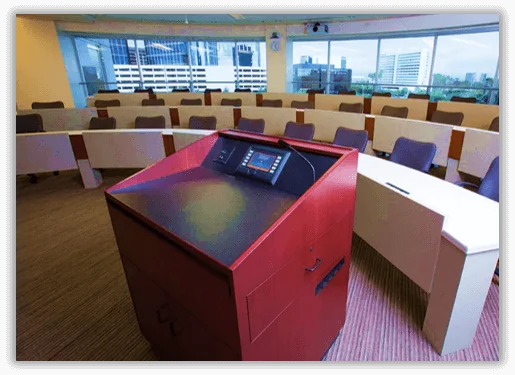
2. Prepare Recording Environment and Filming Studio
Your recording location is crucial in determining the level of additional capture equipment you may need in order to maximize the quality of your lecture recordings. Here are some key factors that may affect the quality of your recordings:
-
Lighting
Ensure that no shadows or excessive brightness obscure the camera. Bright lights near you can cast shadows in the webcam video and dim lighting can create grainy, choppy videos.
-
Background Noise
Outside conversations, air conditioners, humming machines, and/or commotion can overlap your voice, distract your audience, and compromise your lecture recording audio. Close any doors and move away from loud fans if possible.
-
Visual Distractions
Ensure that the audience is focusing on only you and your teaching material. Visual clutter framing the camera can cause a distraction to your viewers.
3. Record Test Footage
To ensure that your lecture recordings are presentable and quality, record a quick video to test both the visual and audio quality of your footage. In the event that lighting and background noise pose a concern, you might want to make slight adjustments to improve your recording quality.
-
Sound Improvements
If students are having trouble hearing your audio, additional microphones can help enhance audio quality.
-
Lighting Source Adjustments
The incorporation of an extra lamps/light sources can help improve the visibility of your face and/or teaching material if the location is too dim. By moving into a different location away from bright windows, you can also improve the visual quality if the recording is too bright.

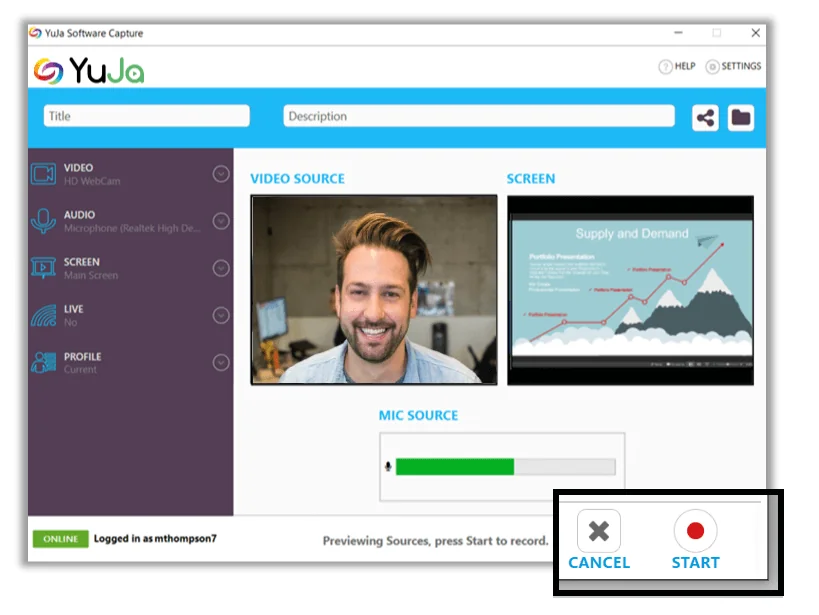
4. Start Recording
Once you are ready to record your lecture, load your slides into your lecture capture software and press Start to officially begin your recording session. Throughout your recording session, you also have the ability to pause and resume your recording at any time.

Once you are finished recording, press Finish to wrap up your presentation.
5. Save and Publish your Recording
At the end of your recording session, you can do one of three options to conclude your recording.
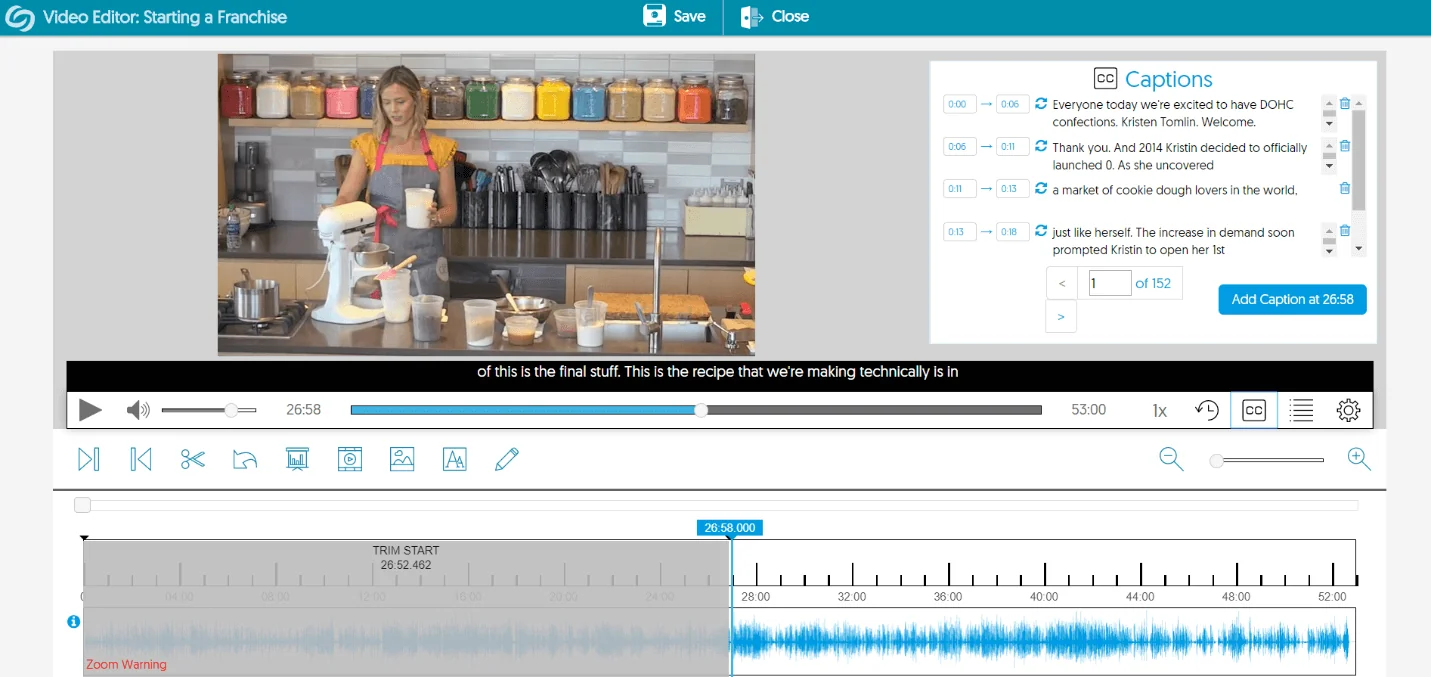
- Save and store your recording in the your LMS’s media management dashboard. You can then revisit your saved video to further edit your recording.
- Post your recording to immediately publish your recording directly to your LMS and it will be available for your students’ to view immediately.
- Press Delete if you are not satisfied with your recording and start again.
Related Post: The Advantages of Lecture Capture in Higher Education